ROSE + NUDES FOR SPRING
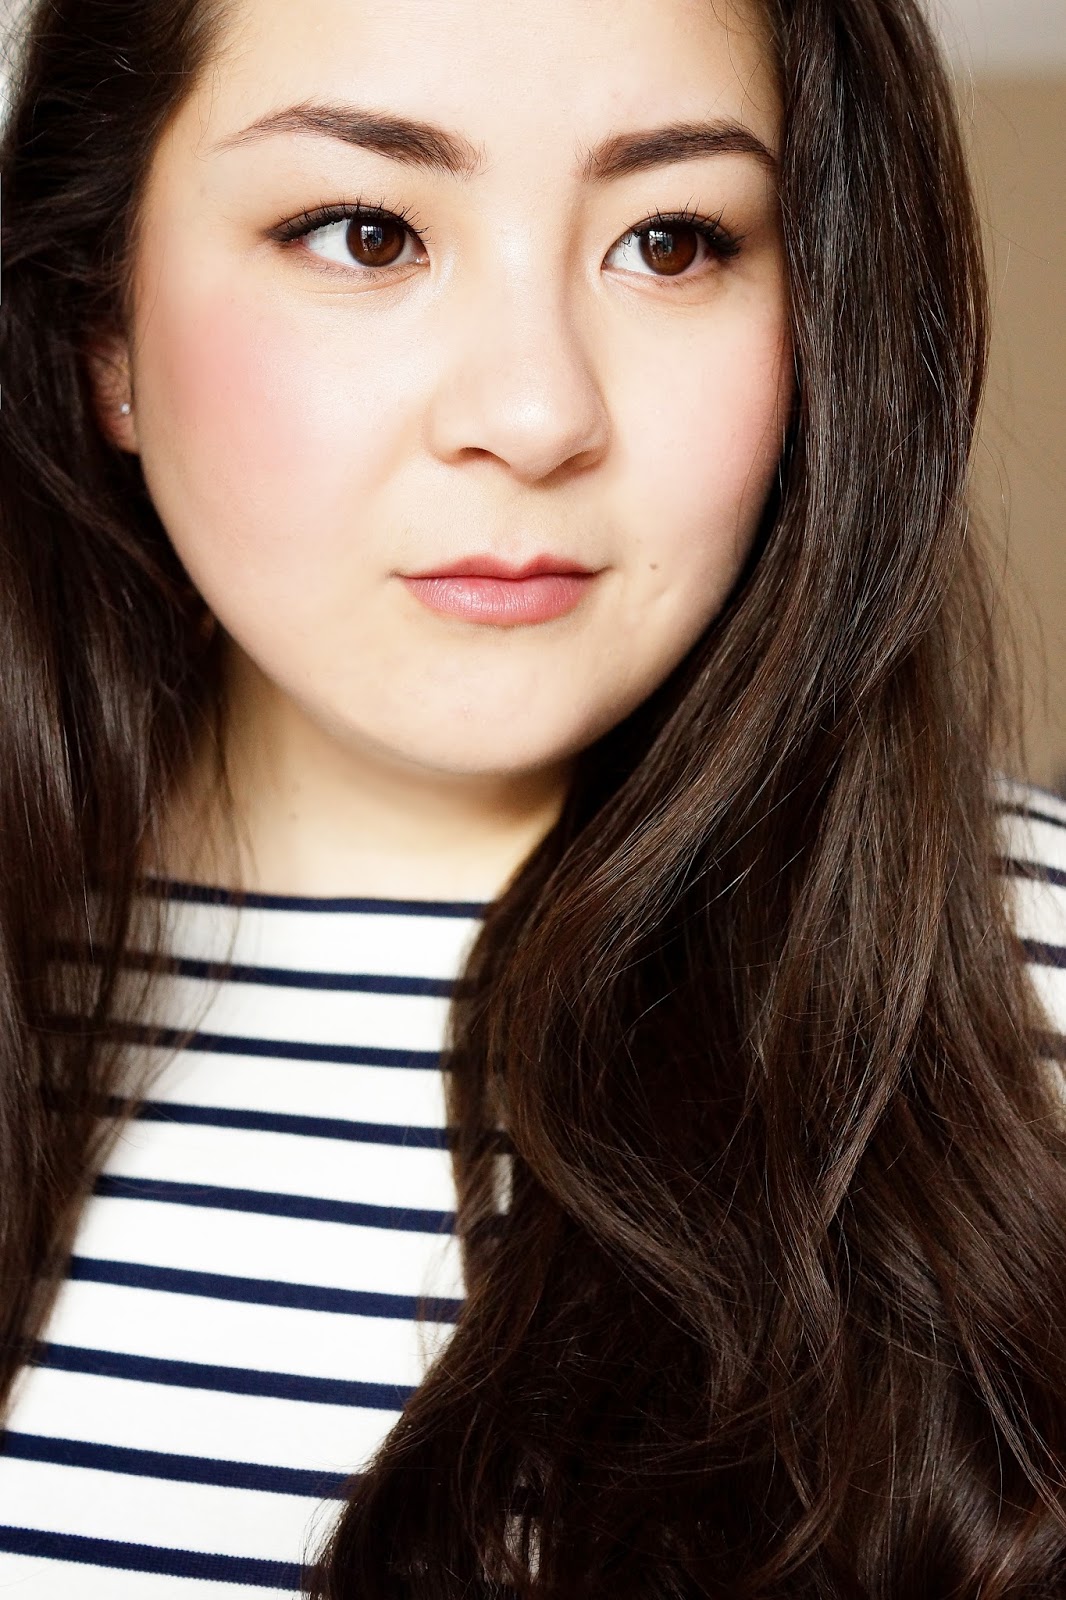
Since sharing what's in my Spring makeup bag, I've had a few questions about my 'everyday makeup' and achieving a springlike rosiness against the clock, so I thought today would be the perfect opportunity to address your questions and share the look that I seem to be forever sporting on my Instagram! The range of makeup I reach for everyday has become increasingly smaller and more specific, but yet I feel I've perfected each separate element to both look nice and take as little time as possible!
It's a soft, muted look with smudgey charcoal-taupe eyes - just a hint of definition, and a nice flush of rosy pink everywhere else, so let's jump in with the how-to!
01. Start off by applying your favourite foundation, followed by a little concealer under the eyes.
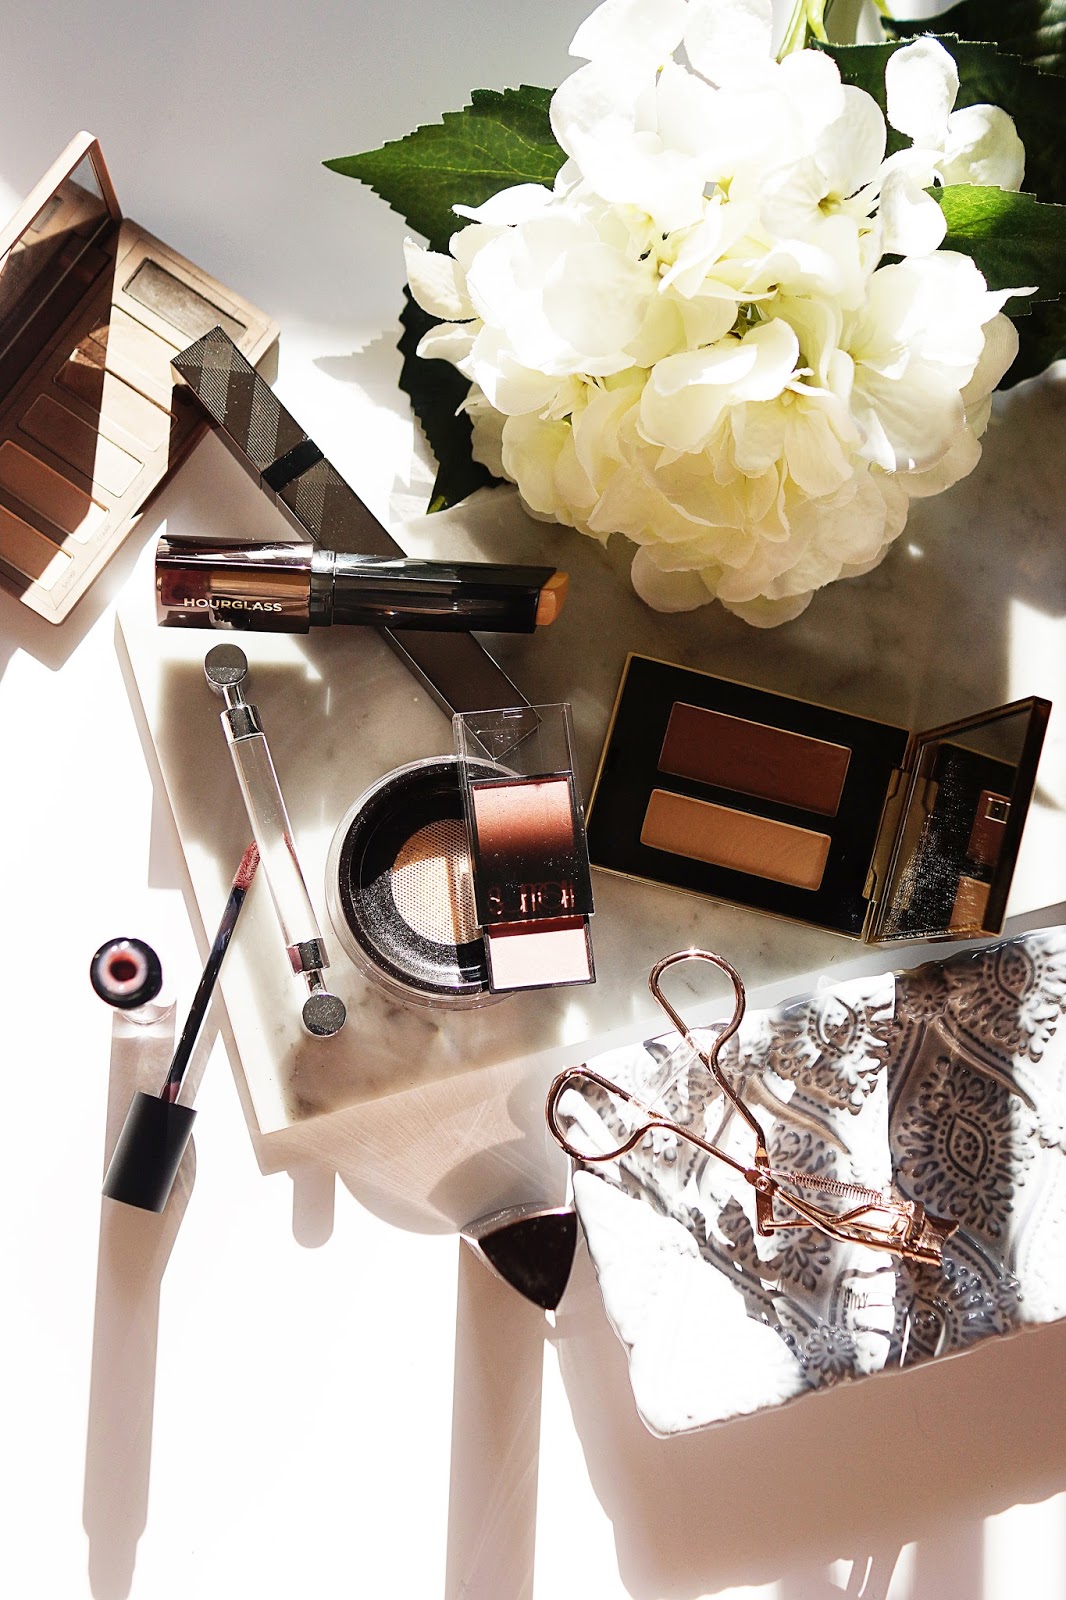
I'm currently favouring a long-wearing base that doesn't need touching up throughout the day, so my Hourglass Vanish stick is perfect. I've shade Linen which blends in with my NC20ish skin perfectly. As this is a little fuller in coverage than I'd like, I dab a little just through the centre of my face and blend out with an airpuff like this one instead of a brush, beautyblender or fingers - I find the effect it gives is flawless! The Bourjois Radiance Reveal concealer in Shade 01 is lovely and light for under the eyes.
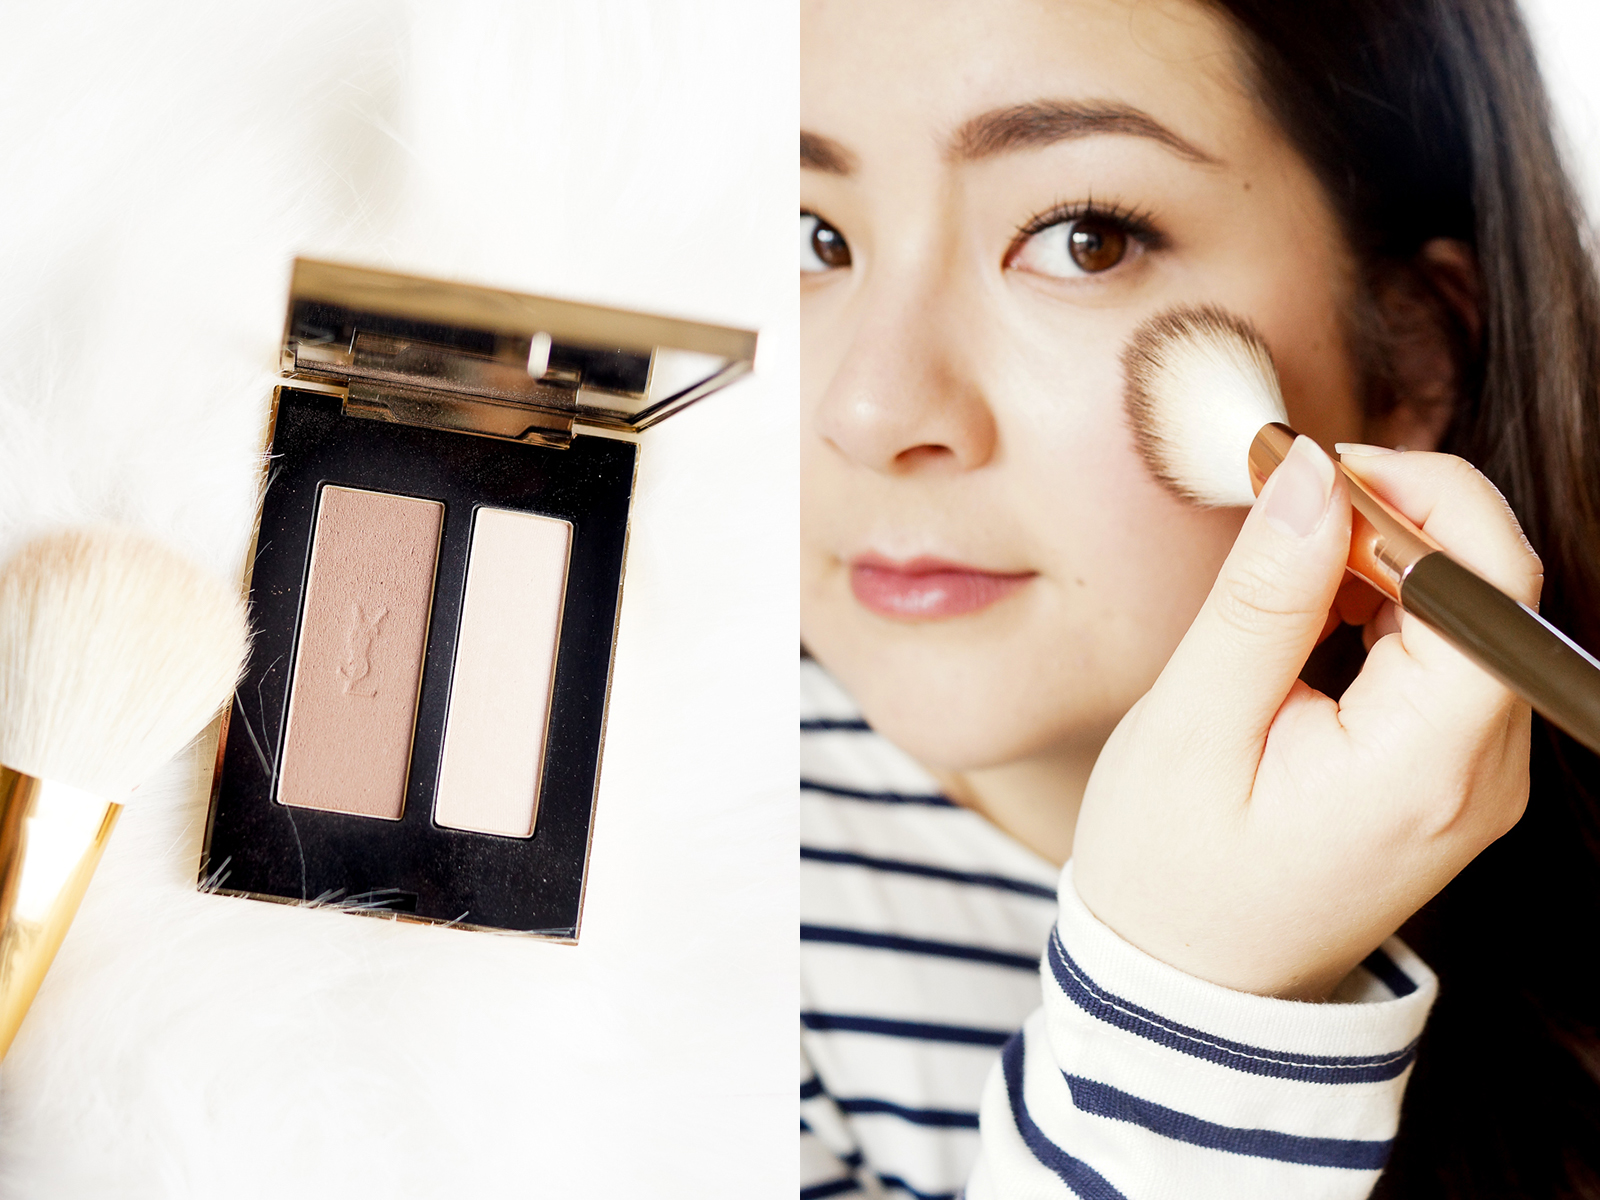
02. Prime your cheeks with a gel-cream before softly contouring through the back of the cheek with a light, cool-toned powder, making sure to blend thoroughly with a fluffy brush.
It might seem that Becca's Fig is a bit of a waste of time as the colour blends out to little more than a faint sheen on the cheeks, but it adds the most beautiful, subtle glow to the face that looks completely indetectable as makeup in real life, and prolongs any powder I overlay on top. My absolute favourite contour powder is the Couture Contour from YSL. It's so finely milled and pigmented that you really can't go wrong.
03. Apply a flush of pink blush to the apple of the cheeks and highlight on the very top of the cheekbone with a subtle highlighter. Use a fluffy brush to blend everything on the cheek together for a super pared-back, blended look.
For blush, I alternate between a combination of Mood Light and Luminous Light, and Surratt's La Vie En Rose, all of which give the perfect, rosy-pink flush. I then finish with a touch of RFA's Rosebud highlighter which is one of my best buys of 2016. I actually use the same, angled or tapered blush brush to apply all of the powder products, in the order listed above and blending well between each stage - it saves so much time!
04. Fill in your brows with an appropriately coloured, micro pencil.
I love Korean brow pencils. They're desperately inexpensive, aren't too stiff nor too soft, and have a good range of dark, ashier tones. The Tony Moly Lovely Brow is indeed lovely, with a fine tip to fill in sparse areas. I've also been topping off my brows with a little of the Charlotte Tilbury brow gel, with it's positively teeny brush. I recently posted about my Charlotte Tilbury favourites (and trying on the new dry sheet masks!) if you fancy a read.
05. With a large, lid brush, apply a skin-toned eyeshadow all over the lid, then blend a grey-ish-taupe lightly through the outer corners and crease with a smaller brush, going back to the first brush to blend everything together.
The UD Naked Basics 2 is arguably the most perfect palette for me. I love it's size, the large mirror, the separated pans, as well as of course the quality and shade range of the shadows. If you're a nude and neutrals lover and this is not already in your collection, then I wholeheartedly advise you pick it up immediately! Hey, even buy it blind, because you're not likely to regret the purchase!
06. Use a small, liner brush to smudge a dark charcoal shade closely along the lashline, finishing at the end of the eye without flicking out. Finish with lashings of your favourite mascara.
If you've been a reader a while, you'll know the 'lash struggle' I face in my everyday life - stubborn, straight, Asian lashes that certainly aren't going to hold a curl. I've tried countless a mascara in my time and only two make the grade: Chanel's Inimitable Waterproof and the Burberry Cat Lashes. I feel like, when concerning mascara and I, this is the only information you need to know!
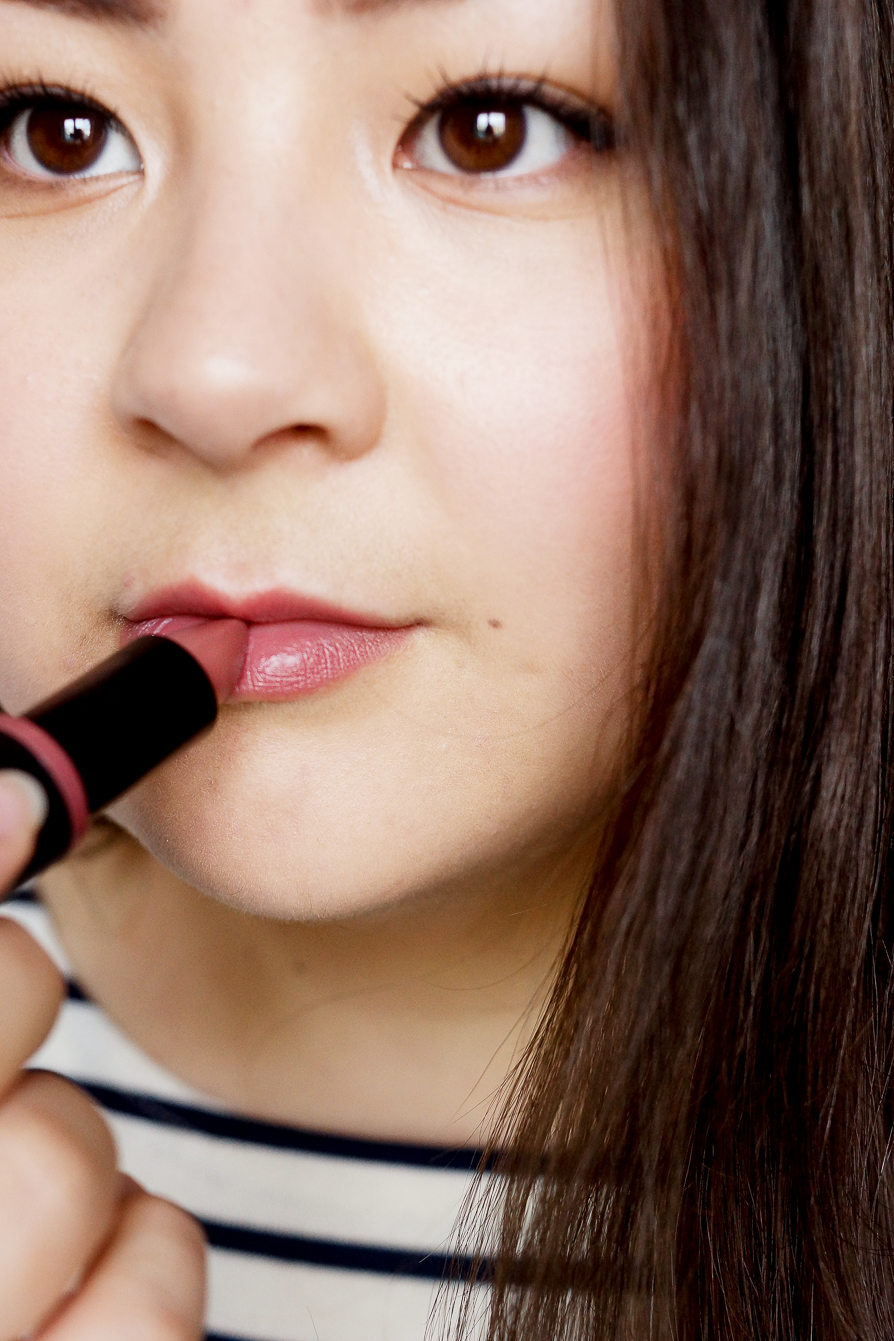
07. Apply your favourite nude-ish pink lipstick.
I've three lipsticks on rotation at the moment, and they are Aerin's Perfect Nude and Pretty, and Essence's Long Wearing lipstick in 06. I feel like I ought to save Perfect Nude because after an eternity of searching, it's the most perfect shade of 'my-lips-but-better' for me and it's not easily available, so I'm sporting the Essence shade in these photos, a pretty, creamy, pink shade that wears beautifully - not to mention it's £20+ cheaper than an Aerin lipstick!
And that's it, the finished look! I've got this down now to a 10 minute, could-do-in-the-dark routine and I love the fresh feel for Spring. Let me know what your favourite quick and easy Spring look is down in the comments, I'd love to know what you're all wearing for the new season!
06. Use a small, liner brush to smudge a dark charcoal shade closely along the lashline, finishing at the end of the eye without flicking out. Finish with lashings of your favourite mascara.
If you've been a reader a while, you'll know the 'lash struggle' I face in my everyday life - stubborn, straight, Asian lashes that certainly aren't going to hold a curl. I've tried countless a mascara in my time and only two make the grade: Chanel's Inimitable Waterproof and the Burberry Cat Lashes. I feel like, when concerning mascara and I, this is the only information you need to know!
 |
| Essence Long Wearing Lipstick in 06 // Surratt Blush Artistique in La Rose En Vie |
07. Apply your favourite nude-ish pink lipstick.
I've three lipsticks on rotation at the moment, and they are Aerin's Perfect Nude and Pretty, and Essence's Long Wearing lipstick in 06. I feel like I ought to save Perfect Nude because after an eternity of searching, it's the most perfect shade of 'my-lips-but-better' for me and it's not easily available, so I'm sporting the Essence shade in these photos, a pretty, creamy, pink shade that wears beautifully - not to mention it's £20+ cheaper than an Aerin lipstick!
SHOP THE POST
And that's it, the finished look! I've got this down now to a 10 minute, could-do-in-the-dark routine and I love the fresh feel for Spring. Let me know what your favourite quick and easy Spring look is down in the comments, I'd love to know what you're all wearing for the new season!
Don't forget to follow on Bloglovin!











Social Icons