


How do I go about curating my feed, what's my process, and how do I edit my photos? In all honesty, my approach is pared back and simple, and I stick to the same few filters and editing tools that I've used for the past year or so. Having a cohesive and attractive feed is possibly the biggest thing that draws me to a new Instagram account so today I'm sharing seven of my favourite tips for a strong Instagram aesthetic.


01. DEFINE AND DEVELOP YOUR STYLE
Whereas my feed is less 'themed' these days, defining a certain photography and editing style really helps when trying to create a strong aesthetic - whether that style is 'feminine', or 'colourful and bold', 'desaturated and minimalist' or 'dark and moody'. Not so much that each photo looks directly relatable to the last, but that they all look like they belong in the same collection. Try shooting in similar lighting each time, so that your photos have a similar amount of brightness and shadow, and edit them in a consistent style, which I'll get onto below.02. DON'T SUCCUMB TO OVEREDITING
I used to be incredibly guilty of this, and like to think I'm now learning from my mistakes! Whilst it can be a style in itself, I personally much prefer seeing photographs that are true to life, or close to, and use editing as a tool to bring the best out in a photo, make it fit a theme, or correct capture-environment issues, like poor lighting. Keeping things simple and exercising restraint with filters and editing is one of my most useful tips.
03. THE 'TRUE TO YOU' ETHOS
I think the most important part of creating and developing your own style is to not let it be influenced by numbers, stats or perceived competition. I think Sarirah from PrettyNotInc has perfected this beautifully. Her feed is cohesive and beautifully curated, but unusual, and I really appreciate finding feeds that offer something a little different. In my own personal experience, I used to post in, almost exclusively, flatlays, with lots of monochrome and white space. These days, my feed is much more of a mix of different shots, and whilst some of those don't 'perform' as well as my flatlays, I enjoy the diversity, and sharing them I feel is more true to myself.04. POST QUALITY
I'm sure this seems obvious, but show some discernment when creating your feed, if creating a strong aesthetic is what you want. And of course, only if that's what you want! Be picky. Choose the photos that fit in with your style, that abide by the TTY ethos, and that are high in quality - no blurry or grainy photos please! I save my more 'real-life' snaps for Insta Stories or Twitter, which gives my followers the chance to see some unique content they won't find on my other platforms.
05. WORKING IN BLOCKS
It can be tricky to keep up with your theme, especially if there's a change in seasons or you want to post about your travels - clear blue skies and sea doesn't always fit with my usual Surrey-life greens and pink shades. When I want to include photos that don't necessarily fit in with my theme, I'll change up my feed for 6,9,12, or another multiple of 3, photos, and then revert back to my usual feed.
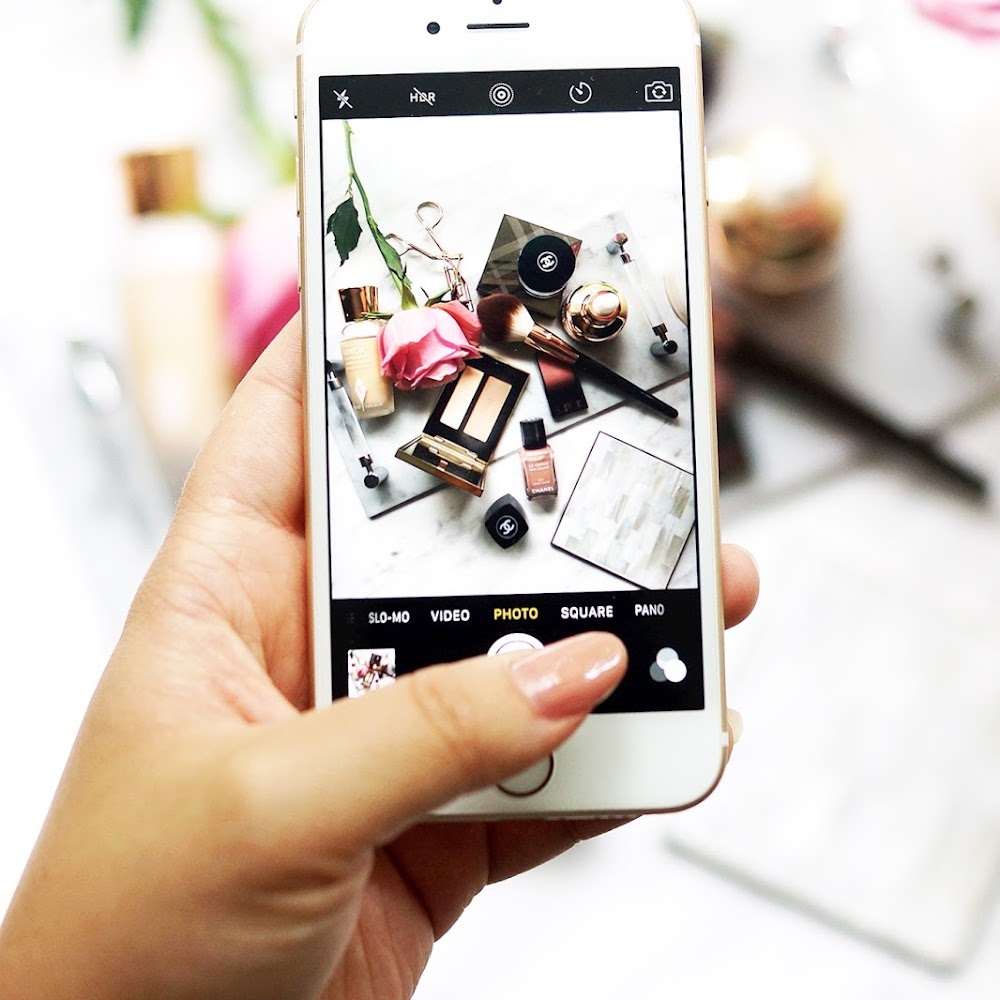
06. MOSAICO
I adore this app. It makes planning my Instagram so much easier and I prefer it to other Insta-planners - in fact, I don't make full use of it as I ought to. I like to import several photos and play around with the order, to see in advance how they'll look together. I'll generally make somewhat of an effort to spread out the types of photograph I use (although really, life seems too short sometimes, so I definitely adopt a relaxed approach to this) - those with negative space next to a busy flatlay or lifestyle shot, photos with darker colours every few photos, selfies sprinkled in every so often. It also gives you the chance to make sure the undertones of neighbouring photos match, which is so often not the case with me, I'm forever having to adjust the warmth! Mosaico also lets you add captions and hashtags, and Ghost Mode lets you see how your feed would look if you deleted a photo.07. VSCO
When it comes to editing my photos, I most often use the in-app editing in Instagram, and tend not to use filters at all, especially if it's a flatlay. For lifestyle photos, I turn to VSCO, and specifically the A6, A5, C2 and HB2 filters.
VSCO A6 +8 // Instagram Sharpen +50 // Saturation +15 // Brightness +10 // Shadows -10

Instagram Warmth -30 // Shadows -30 // Brightness -10

VSCO C2 +7 // Instagram Sharpen +25 // Saturation -25 // Brightness +60 // Structure +20
I hope this helps with creating your Instagram aesthetic, and answers the questions some of you had! If there's one takeaway message I'd hope you remember, it's to post the photographs that you want to. Above all else, make your feed an extension of you.
Don't forget to follow on Bloglovin!


Social Icons