


One of my most commonly asked questions is regarding photography - especially now that we're into the dull depths of Winter and light seems at a premium. I've had so many requests to talk about this subject, so today I'm sharing my favourite tips and tricks to still achieve beautiful photos whatever the weather. Hopefully there's something among them that you can take away!

S H U T T E R S P E E D + U S I N G A T R I P O D
Really simply put, the slower the shutter speed, the more time your camera's sensor is exposed to light. For lower light situations, slower shutter speeds can be useful to make your photos brighter, but the opportunity cost is a potentially blurry photo. No matter how still you think you're standing above that flatlay, a tripod is always going to trump you to make sure your pic is as clear as possible. Something really good quality and sturdy like this one that I use is an excellent investment.
M A K E T H E M O S T O F N A T U R A L L I G H T
It may seem desperately obvious but try to get as much natural light as you can possibly manage. If the weather is fine, go outside - the light levels are just infinitely better out in the open. If not, make sure you get right up close to a window or french door etc - I'm lucky that our house is fairly well lit on a decent day, but I've even found myself working on windowsills to get the light I need.
 |
| Without a reflector |

If you're working at a window, your light source is coming in from one direction, meaning the opposite side is looking a little dull. I never used to be a believer, but I've since learnt what a difference reflectors can make to bounce light around your photo and minimise shadows. I switch constantly between using this reflector and some of this white boarding - placing it at the edge of my photo, on the opposite side to my light source.
A P E R T U R E
Aka the little 'hole in the lens', this behaves like a pupil in the eye, letting more or less light into the camera. The smaller the f-stop number shown, the more light is allowed into the camera, so in winter and situations that lack light, try shooting with as low an f-stop as you can manage.
I take many of my photos on F1.8, which is generally suitable for the majority of winter's cloudiest days - or if your lens can manage F1.4, that's even better!
I take many of my photos on F1.8, which is generally suitable for the majority of winter's cloudiest days - or if your lens can manage F1.4, that's even better!

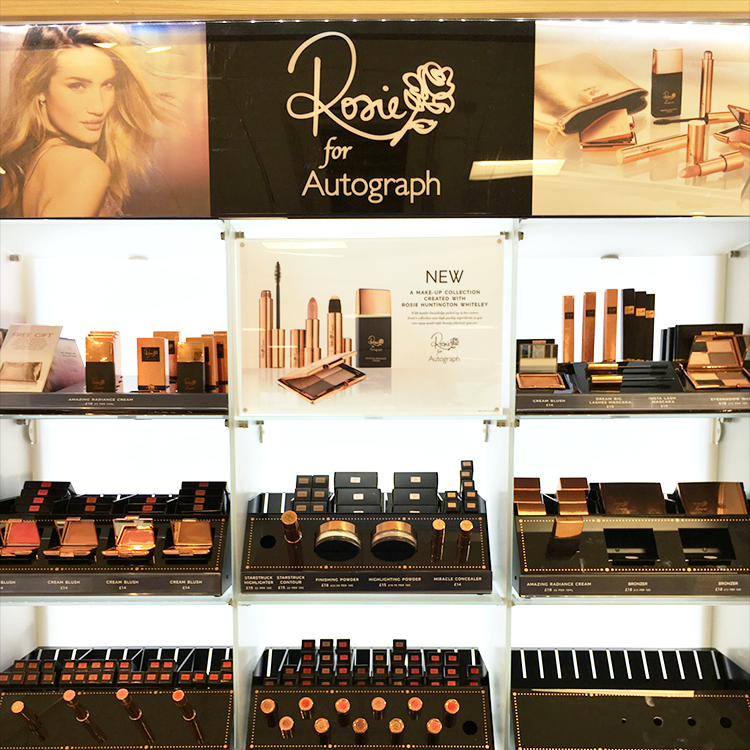
Following on from the last point, a low f-stop number also allows you to get those 'blurred background' shots we love, so embrace it. Rather than favouring flatlays, try getting in close to your subjects, allowing you to make the most of the low f-stop and get the most light. Pancake or prime lenses like this one for Sony cameras like mine, or this one for Canon, are great for close up work and have low f-stop boundaries to allow you to access the most light, and ultimately get a brighter photograph.

(Image source: What's In My Autumn Makeup Bag post)
I S O
Again in laymens terms, the ISO refers to the sensivity of your camera's sensor. A low ISO figure means your camera has to collect more light to achieve the exposure, so turning up your ISO, simply put, makes your photos brighter. Unfortunately it also makes them noisier/grainier too so I like to keep mine around 250 - so for everyone asking how I get my photos to be clear and crisp, that's how!
There is something to be said for a grainy image though, and you can choose to adopt that as a stylistic feature, in which case, crank the ISO up to 1000+, and your image should be lovely and bright.
There is something to be said for a grainy image though, and you can choose to adopt that as a stylistic feature, in which case, crank the ISO up to 1000+, and your image should be lovely and bright.
A R T I F I C I A L L I G H T
Whilst I've so far been shooting with natural light - it's my much preferred method - sometimes you need a little support. Artificial lighting can be used like reflectors, except rather than reflecting the original source of light, they provide you with a secondary, supplementary source. Try daylight softboxes like these, or speedlites that you can bounce off the reflectors/whiteboards we mentioned earlier, to get the most natural results.

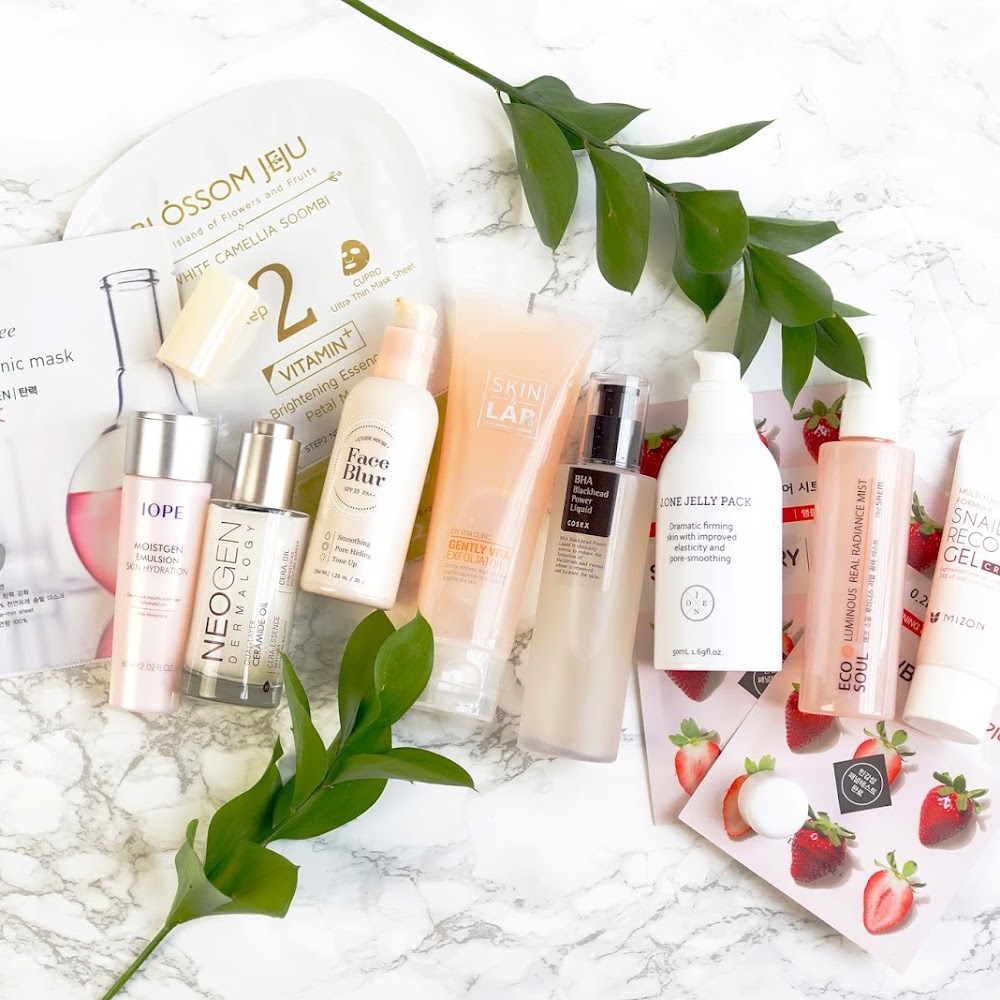
B A C K G R O U N D S
I've read quite a few tips that suggest using as bright and white a background as possible is best when it comes to making your photos brighter, and to an extent they're right. But I also think that can sometimes be making things more difficult for yourself. I, as we all do, know the struggle of trying to get white to look white - and white background flatlays can be difficult enough, let alone when your lighting situation is poor. One tip I like to employ is the use of fabric backgrounds. The texture of the scarf/rug/whatever you have at hand, absorbs light slightly, which results in a much more evenly lit picture, especially if you're working by a window etc. This makes my life a lot easier in the editing stage, as I don't get overexposed or washed out areas when I brighten the image. The folds and pleats you create in the fabric also create shadow that's supposed to be there, as opposed to feeling like you have to eliminate all shadow. I also think that using darker backgrounds can have a similar result as generally I'm wanting my subjects (the makeup etc) to look bright and clear, and if I had to choose, I'd rather they were bright than the background. Using black board or acrylic like this stuff for example, and my picture has a darker, moodier feel about it which I actually quite enjoy.
B L O C K S H O O T I N G
In the spirit of chasing the light, take advantage of what few sunny days you can get by trying to block shoot a number of posts whilst the light is good. If I'm lucky enough to get a bright Saturday morning, I'll try and take maybe two or three posts worth of photos.


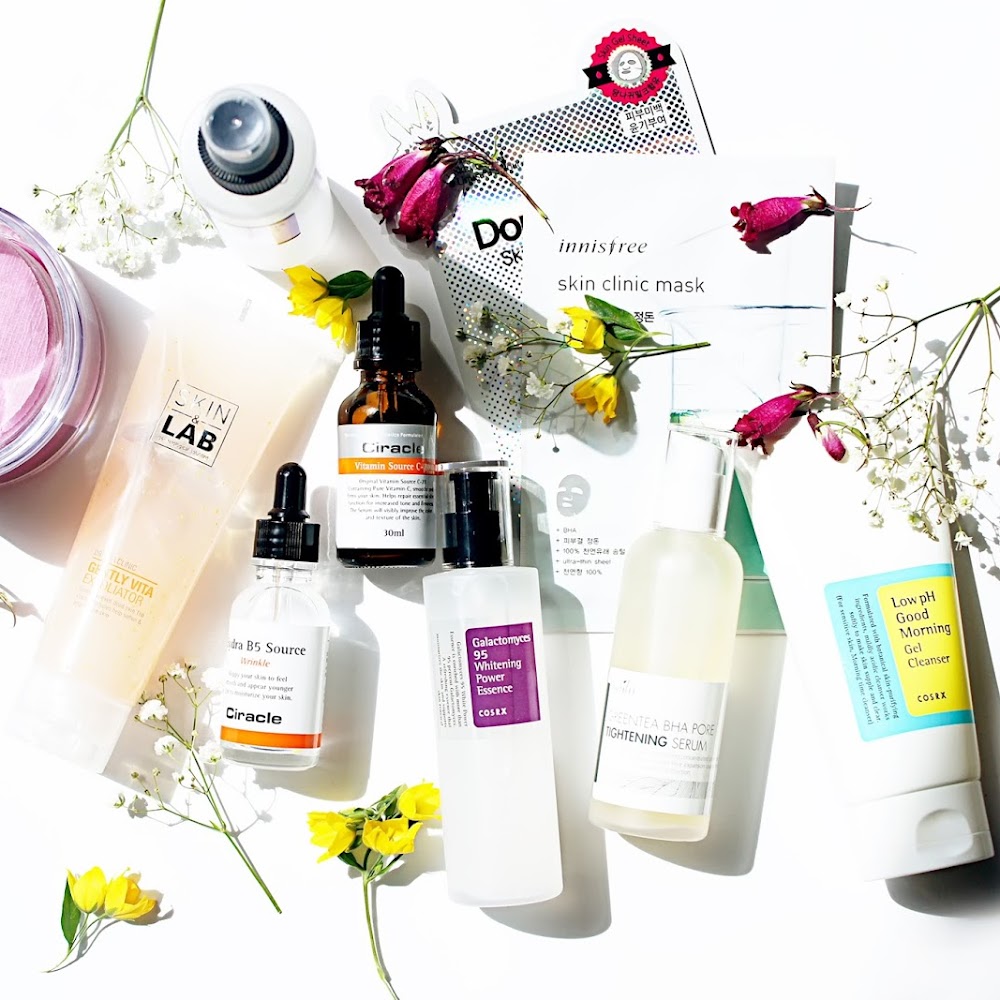
(Image souces: Kevyn Aucoin Neo Bronzer Review post
Korean Skincare Tips For Acne & Acne Scarring post)
Korean Skincare Tips For Acne & Acne Scarring post)
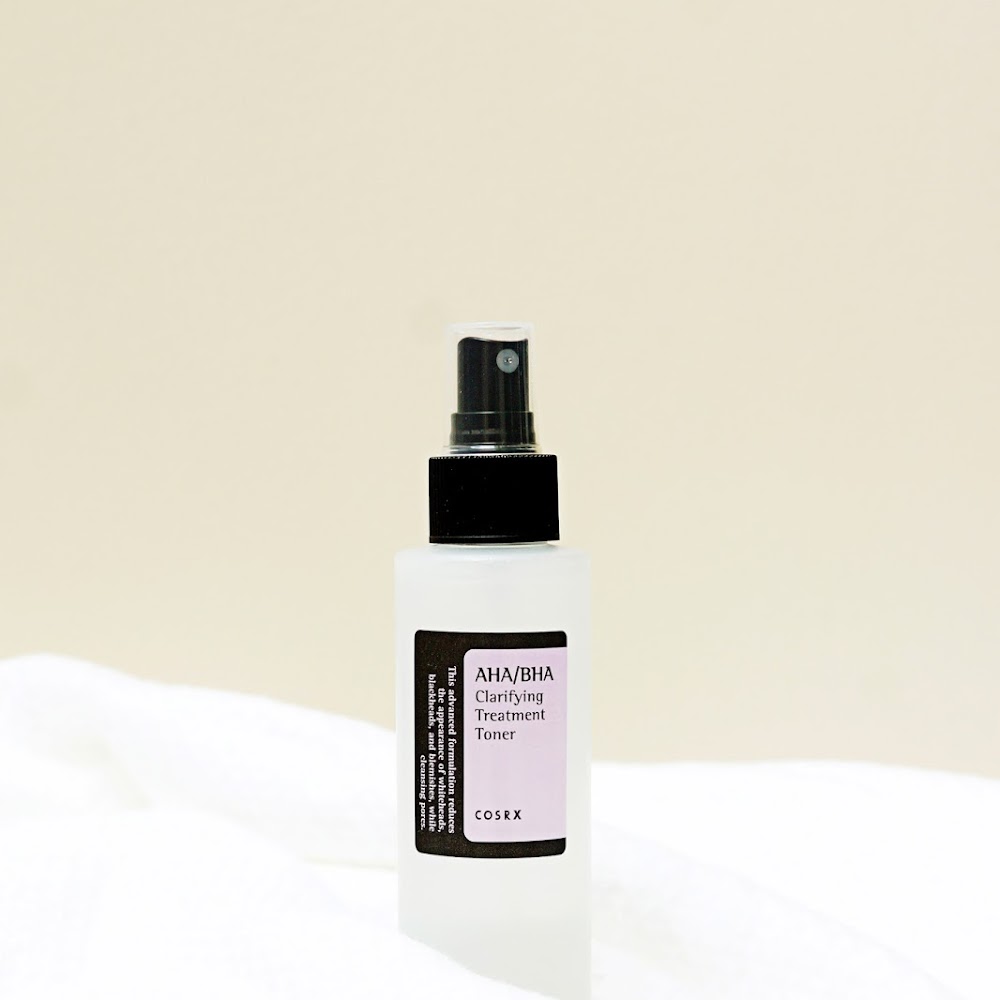
E M B R A C E T H E L I G H T Y O U H A V E
The light across the seasons behaves differently, and whilst Autumn and Winter don't tend to have that effortless light that shines from directly above, that makes taking photos in full sun a doddle, they do still have crisp, cold days where the sun's rays tend to come at you horizontally (drivers you'll know the kind of blinding rays I'm taking about!). This is the kind of light to embrace too, just by changing up your photography style a little. Glass objects work beautifully in this kind of light, like in the photo above.

E D I T I N G
Whilst a lot of my tips focus on what you can do to brighten your photos before you make the shot - a large percentage of achieving a bright final product is via editing for me. I use Photoshop and tend to find editing in raw the best method for bright photos - you have the most control and can edit out blue/yellow tints as well as increase the exposure and clarity if needs be. (Let me know in the comments if you'd like a post on how I edit my photos!)
Do let me know if you have any photography questions or requests, eg if you'd like to know what my setup is, or my editing process etc. and I hope you've found something helpful within this post!


Do let me know if you have any photography questions or requests, eg if you'd like to know what my setup is, or my editing process etc. and I hope you've found something helpful within this post!
S H O P T H E P O S T

Don't forget to follow on Bloglovin!


Social Icons